
Now that you are excited about blogging and ready to get started, choosing and setting up your hosting plan is your next step. I will show you just how simple it is!
Like I mentioned in my article on how to start a blog in 6 simple steps, there are many, many hosting companies and plans to choose from. I have done extensive research on numerous companies and learned that the companies charging the most are not always the best. In fact, I found one company in particular to be extremely affordable, highly rated and very popular. This company is BlueHost.
With BlueHost, the entire process is EASY. Don’t worry if you don’t know much about what you’re doing or how to do it because BlueHost will take care of you. They have 24/7 customer service including live chat. If you have decided to use WordPress as your platform to create your blog on, BlueHost will even install it for you! They really are an awesome choice.
Follow these simple steps and get your blog started today! You may click on any of the images or links at any time to take you right to BlueHost for these amazing deals.
Step 1: Get Started
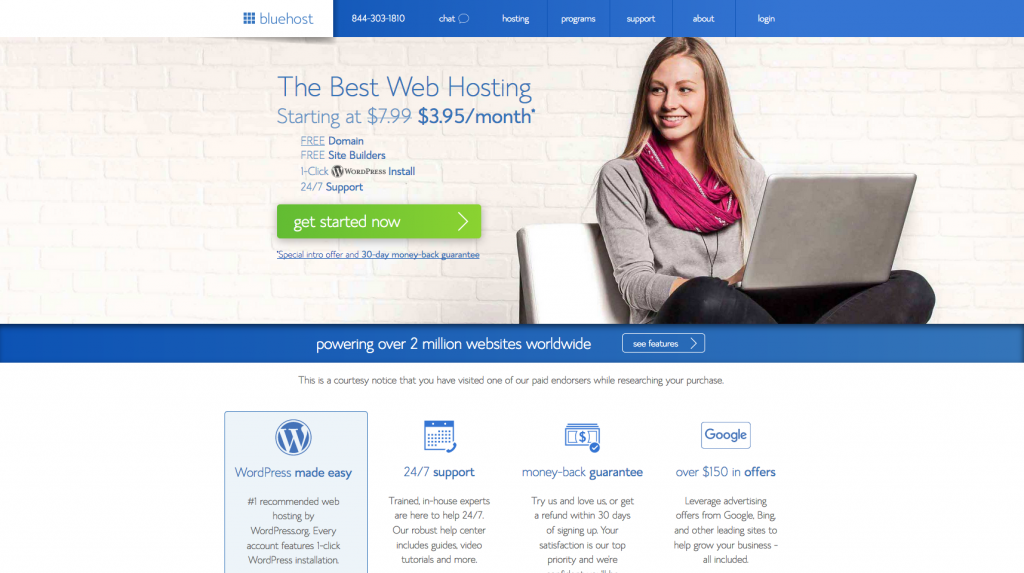
Go to BlueHost.com and click on the button that says “get started now”.
Step 2: Choose A Plan
There are 3 plans to choose from which are Basic, Plus or Prime.
Basic Plan: This is the cheapest plan. For $3.95 per month (sometimes $2.95), you get a very basic plan with only ONE website available to host on it. Even if you’re brand new to blogging you make quickly decide to blog about different niches on different sites so this plan would not be the best choice. It also has limited email storage and many other limitations.
Plus Plan: This is their middle plan at $5.45 per month. You may have unlimited websites, unlimited email accounts and storage, as well as money to use toward marketing and a few other extras. This is a good plan for the money.
Prime: This is the best plan for the money. For $5.45 per month you receive all of the same options you receive with the Plus plan, PLUS Site Backup Pro and Domain Privacy. What a deal!
Step 3: Choose Your Domain Name
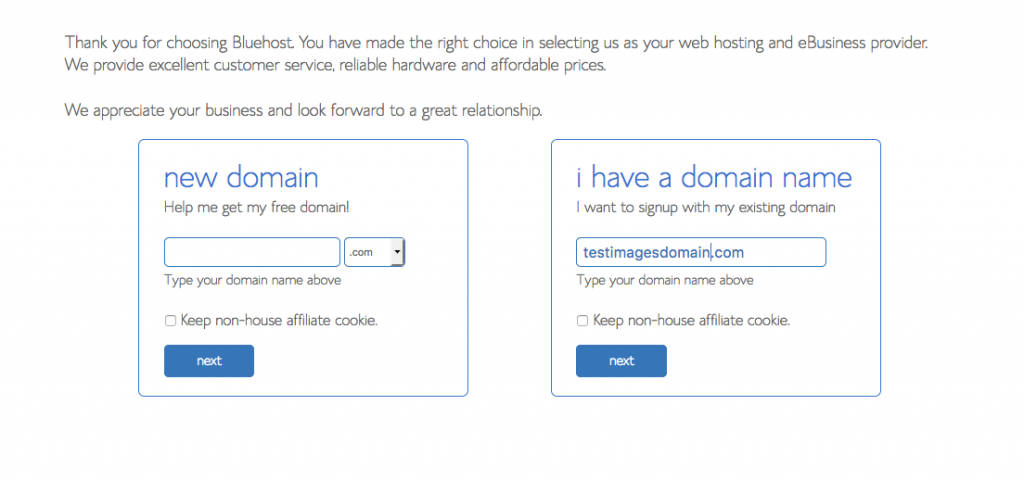
Choose a name that reflects what your site is about. This should be a no-brainer. You don’t want to call your site carlasblog.com because that’s too vague. You also don’t want to call it themostmagnificentphotosintheworldtoday.love. Here’s why.
- That name is WAY too long.
- .love is too hard to remember. Most people have never even heard of it.
- Many people probably can’t spell magnificent and will mess it up and land on another site that’s not yours.
Simplify your name, keep it short and use words that are easy to spell and remember.
Try to use .com if possible since that is very popular and what most people think to type in a search.
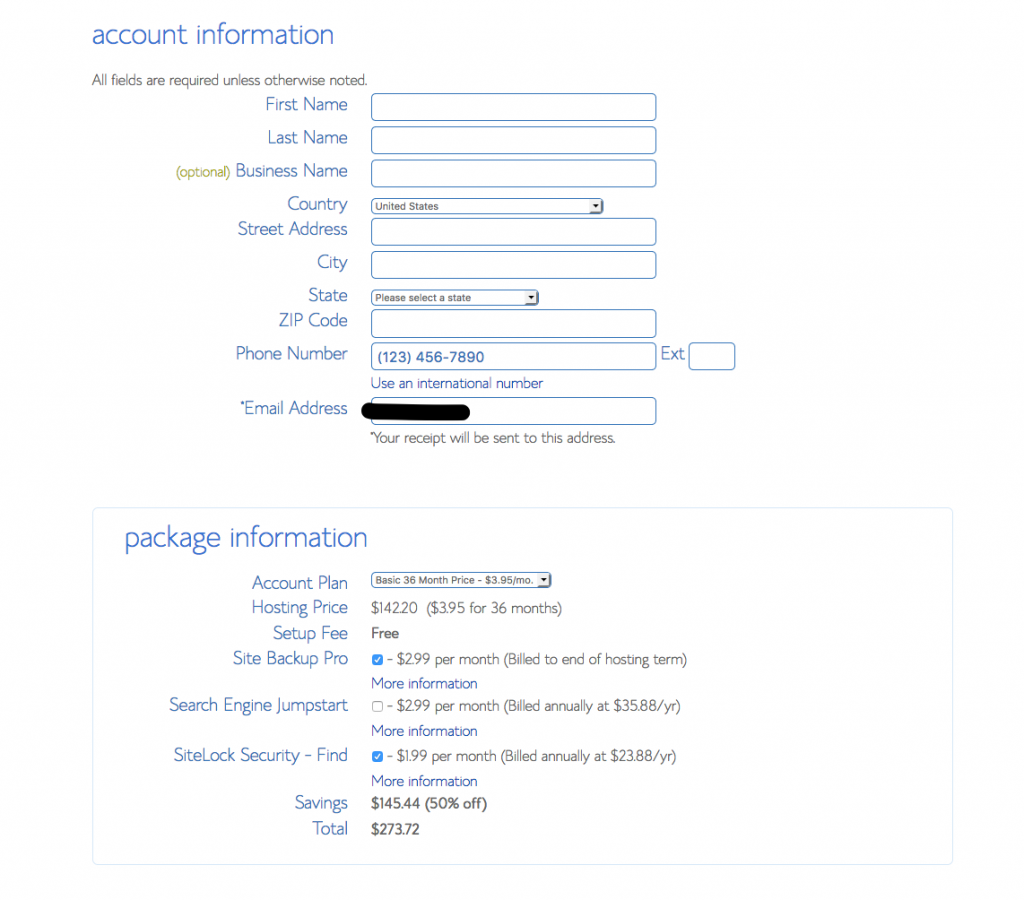
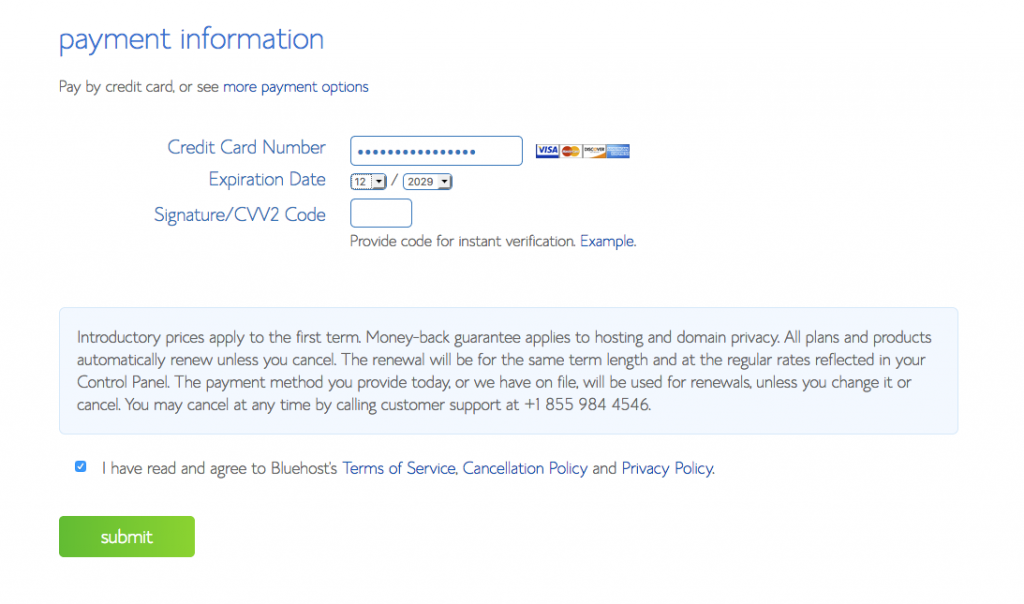
Step 4: Create your account and pay for your plan.
This is a pretty straightforward step. You can choose a plan and pay for 12-36 months at a time. The longer amount of time you pay for at once, the less you will pay in the long run. With prices like these, pay for as long as you can all at once! You won’t regret it.
Step 5: Choose A Password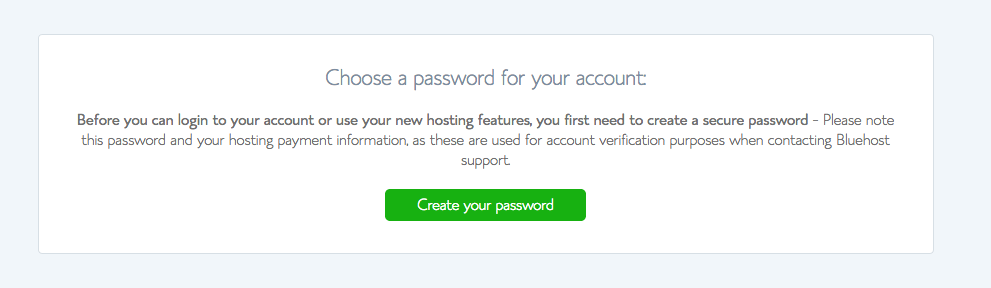
Yes, another password! Don’t think of it is a pain though. Think of it as added security for your new site.
 Step 6: Choose A Theme
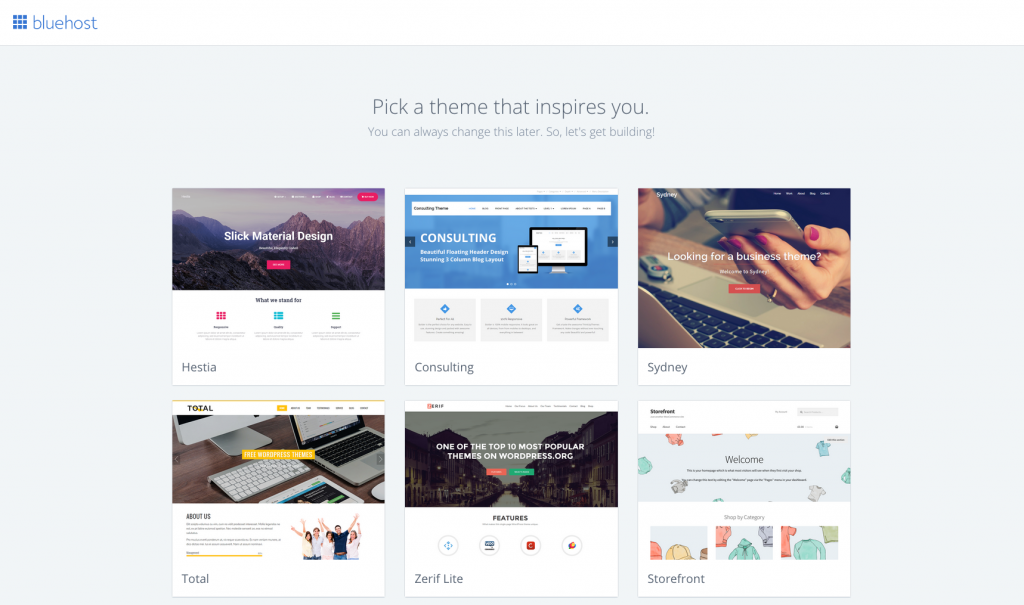
This is so fun. Search through themes and then customize the one you choose. Pick your colors, fonts, header, etc. and make this baby your own! There are many tutorials on how to continue from here to make your WordPress site, although it is a very simple process. Click on add new post and start your dream today! It may be one of the best choices you have ever made.
CLICK HERE TO GET STARTED WITH THESE AMAZING RATES FROM BLUE HOST!!!
